
How to set up and zero a riflescope
Follow this simple step by step guide to zero a riflescope.
Before you zero a riflescope ensure it is correctly mounted and in a comfortable position that provides optimum eye relief. For more guidance on riflescope setup see Mounting a riflescope & the full riflescope guide from Hawke.
-
Ocular Lens Adjustment
All Hawke riflescopes are fitted with an adjustable ocular focus, this is used to focus the reticle to match your eye characteristics. To achieve a crystal-clear picture of the reticle carry out the following adjustment.
- Hold the scope about three or four inches from your eye and look through the eye piece at a blank, flatly lit, bright area such as a wall or open sky.
- If the reticle is not sharply defined instantly, turn the eyepiece a few turns to focus and quickly glance through the scope again. If the focus has improved, but is still not perfect, continue turning until focus of the reticle is achieved. With a Sidewinder 30 SF, when the desired focus is achieved, rotate the inner lock ring until tight. This will prevent accidental adjustment when in the field or traveling
Warning: Never look at the sun with a riflescope, it may permanently damage your eyes.
-
Adjusting Hawke Turrets
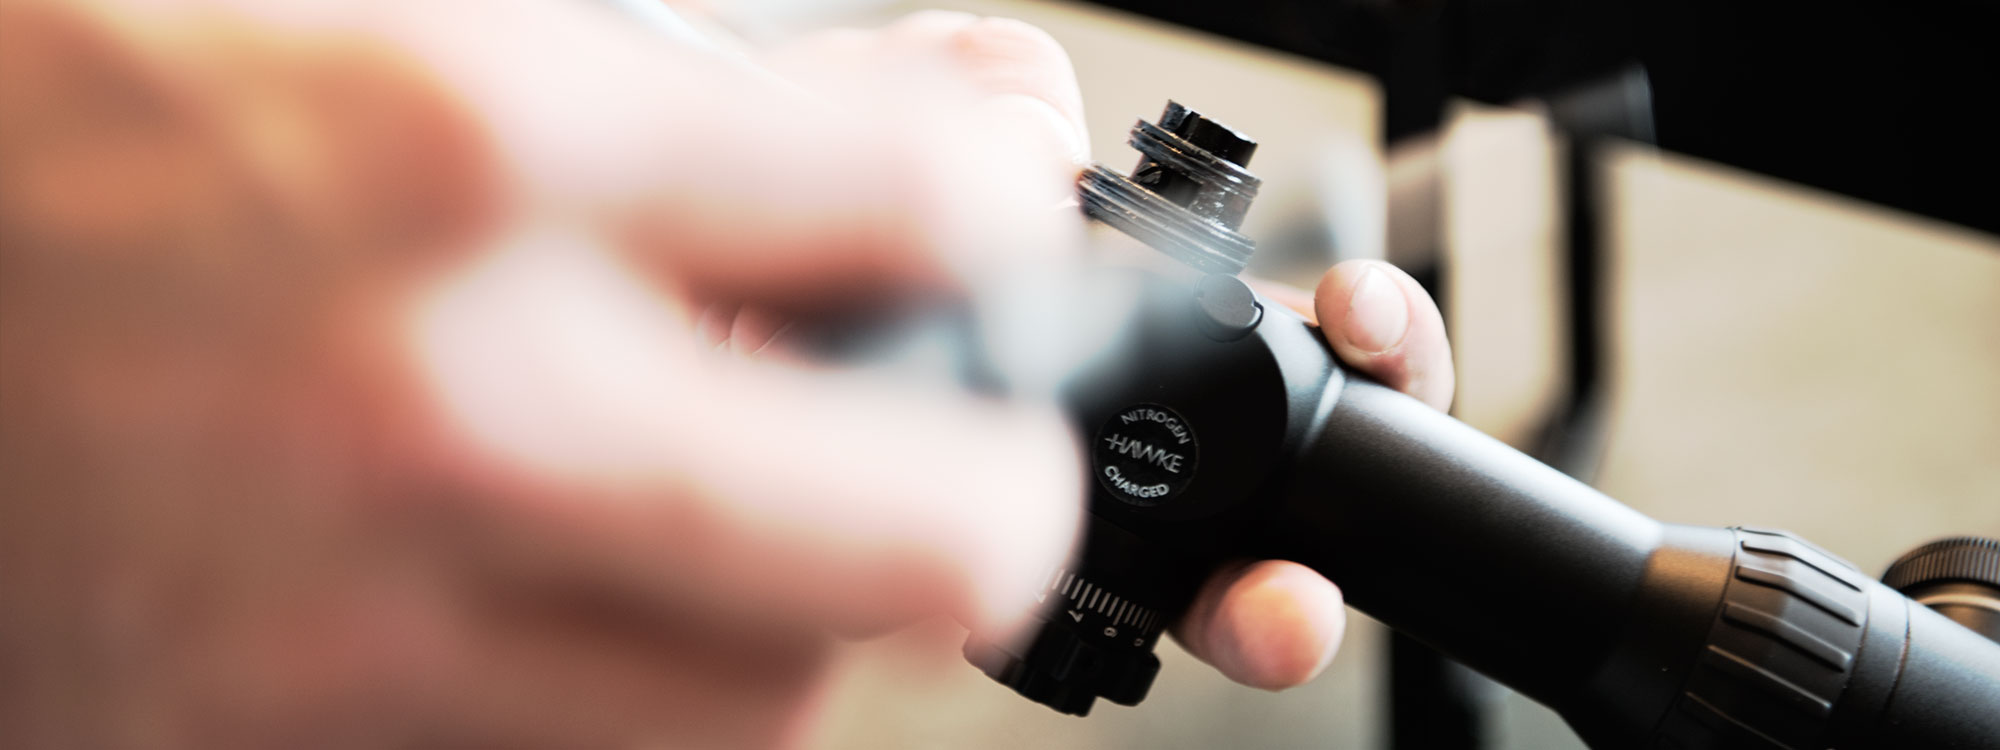
After mounting you will need to access the turrets for zeroing. Some riflescope turrets have a turret cap, remove these to access the turrets adjuster.
How to adjust Sidewinder 30 SF turrets
- To adjust these turrets, you must unlock them; this is achieved by pulling them outwards. They will now click when rotated. The turrets can then be adjusted. To lock the turrets, simply push them back down.
- When a satisfactory zero is achieved, the turrets can be reset. To do this, loosen the hex screw with the turret in the down and locked position, rotate the turret cover to the zero position, and then re-tighten the hex screw.
How to adjust Airmax 30 SF turrets
- To unlock the turrets, rotate the lock (located on the top of the turrets) counter-clockwise. Rotate the lock clockwise to lock the turrets into position. The turrets can be reset once the riflescope has been zeroed to make future adjustment easier. Loosen the three screws on the selected turret using the allen key provided. The turret can now be rotated to zero without making any adjustments.
- Once the turret is in position, use the hex key to re-tighten the screws (be careful not to over tighten).
-
Pre-Zeroing
Pre-zeroing can be done either visually or with a bore sighting collimator. The following is how to pre-zero visually.
With the firearm in a steady rest position, open the action of the firearm and look along the barrel to a predetermined target at a known distance, for Rimfire rifles we recommend at 50yds, Centrefire rifles 100yds and airguns 20 yards. Scopes fitted with an adjustable objective or side focus should be adjusted to the same distance. If using a variable power riflescope, set this to mid-power.
Now adjust the windage and elevation turrets until you have positioned the reticle on the centre of the target. For windage adjustment, turn the windage adjustment turret clockwise to move the point of impact left, and counter clockwise to move the point of impact right. In the same manner, adjust the elevation by turning the elevation adjustment clockwise to lower the point of impact and counter clockwise to raise the point of impact.
-
Zeroing with a rifle or airgun
Zeroing your riflescope should be carried out with live ammunition, for the first test shot we recommend shooting Rimfire rifles at 50 yards, Centrefire rifles 100 yards and airguns at 20 yards, this will ensure you are accounting for riflescope error only. After the first zero you should always zero at the distance that you are normally going to shoot at.
The parallax should be set to the shooting distance during the zeroing process. Set variable power riflescopes to mid-power. From a steady rest position fire three rounds at a target. Observe point of impact on the target and adjust the windage and elevation turrets as needed to correct point of aim & point of impact.
Repeat until point of aim and point of impact are the same.
-
You have now achieved zero.
Note: if the point of impact is significantly off target after firing your initial rounds, inspect the mounting of the riflescope to ensure it is not poorly aligned or positioned. If required, try removing the riflescope from the rings and rings from the rifle and starting again. This may remove any error in initial mounting.
Find out more technical tips from Hawke here
Learn more about Hawke Life | Like Hawke on Facebook | Follow Hawke on Twitter | Follow Hawke on Instagram
Warning:
All shooting should be carried out at an approved range or other safe area. Eye and ear protection is recommended. If a bore sighting collimator or any other bore obstructing device was used, it must be removed before zeroing with live ammunition. An obstruction can cause serious damage to the gun and possible injury to yourself and others nearby.
Please note that through guidance of this article Hawke Optics accept no liability for damaged riflescopes, mounts or equipment as a result of following these steps. These instructions are as a reference only.


